
How to Make 2-Ingredient No-Bake Dog Treats in 3 Easy Steps
Why 2 Ingredient Dog Treats No Bake Are Better Than Store-Bought Snacks
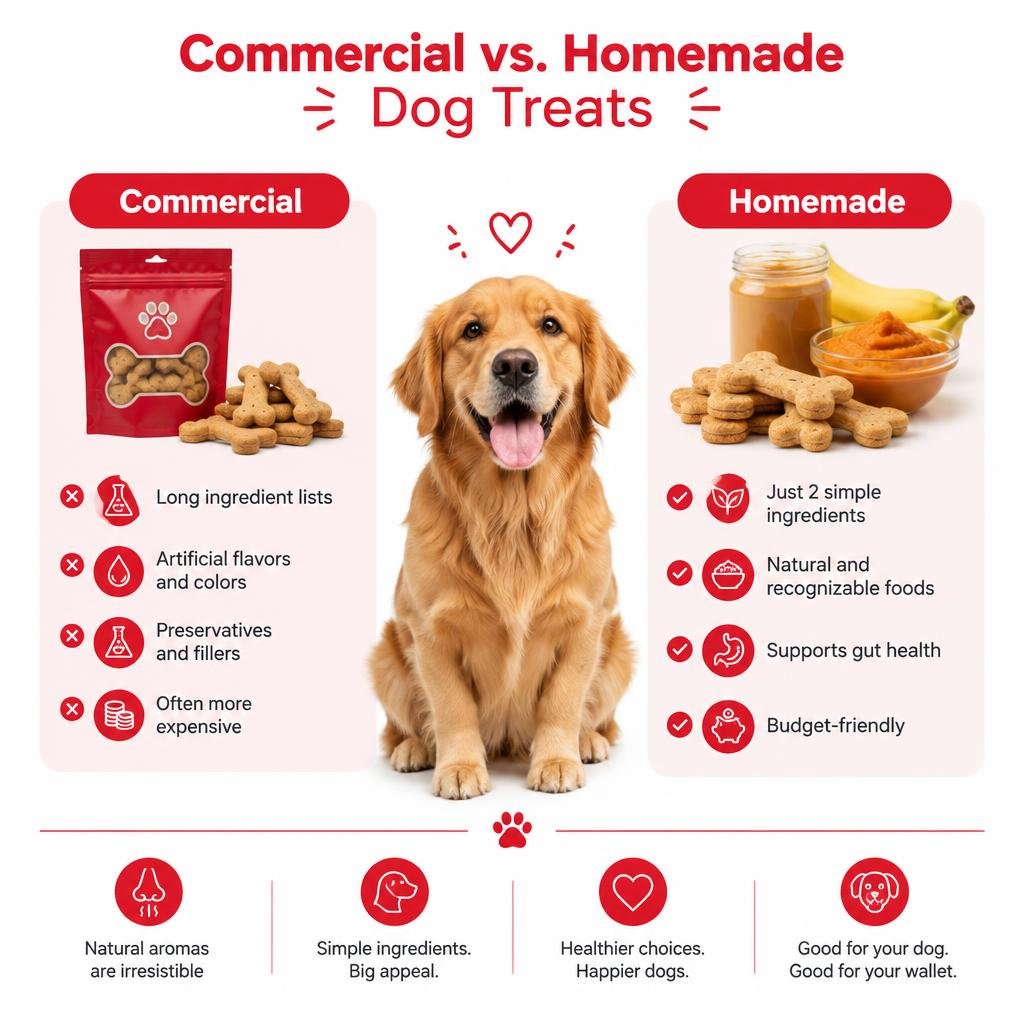
When we scrutinize the labels of many commercial dog treats, we often find a perplexing list of ingredients. These can include mystery additives, artificial flavors, and chemical preservatives designed to extend shelf life, not necessarily to benefit our furry friends. While convenient, these treats can contribute to various health issues over time, from digestive upset to long-term chronic conditions.
Homemade 2-ingredient no-bake dog treats, however, offer unparalleled whole-food transparency. We know exactly what goes into them because we put it there ourselves. This control allows us to prioritize canine gut health by using simple, natural ingredients that are easily digestible and free from unnecessary fillers. The peace of mind that comes from knowing our dogs are consuming wholesome, recognizable foods is invaluable. Furthermore, these treats are incredibly budget-friendly to prepare, often costing pennies per serving compared to their store-bought counterparts. This makes it easier to provide high-quality snacks without breaking the bank.
Canine Olfactory Biology and Flavor Preferences
It’s a common misconception that dogs appreciate complex flavors in the same way humans do. In reality, a dog’s sense of taste is far less developed than ours. While we possess around 9,000 taste buds, dogs have only about 1,700. Their culinary world is dominated by their extraordinary sense of smell. With roughly 300 million olfactory receptors compared to our mere 6 million, a dog’s nose is estimated to be 10,000 to 100,000 times more acute than a human’s.
This remarkable olfactory biology means that highly processed treats with artificial flavors are often less appealing than natural food aromas. Dogs are drawn to the pure, unadulterated scents of ingredients like peanut butter, pumpkin, or banana. This is why simple, 2-ingredient treats are so effective: they leverage these natural aromas without the need for added sugars, excessive salt, or artificial enhancers. Our dogs truly appreciate the genuine scent and wholesome goodness, making simple recipes incredibly palatable and satisfying for them.
The 3-Step Formula for Quick No-Bake Dog Treats
Creating delicious and healthy no-bake dog treats is surprisingly simple, requiring minimal equipment and effort. The beauty of these recipes lies in their straightforward process, often involving just a few mixing bowls, a spatula, and perhaps some silicone molds for shaping. The key is to achieve the right dough consistency – firm enough to hold its shape but pliable enough to work with. There’s no need for an oven, which means no preheating, no baking time, and no waiting for treats to cool. This quick preparation method is perfect for busy pet parents looking to offer nutritious rewards without a lengthy commitment.
Step 1: Choose Your Base and Binder Pairing
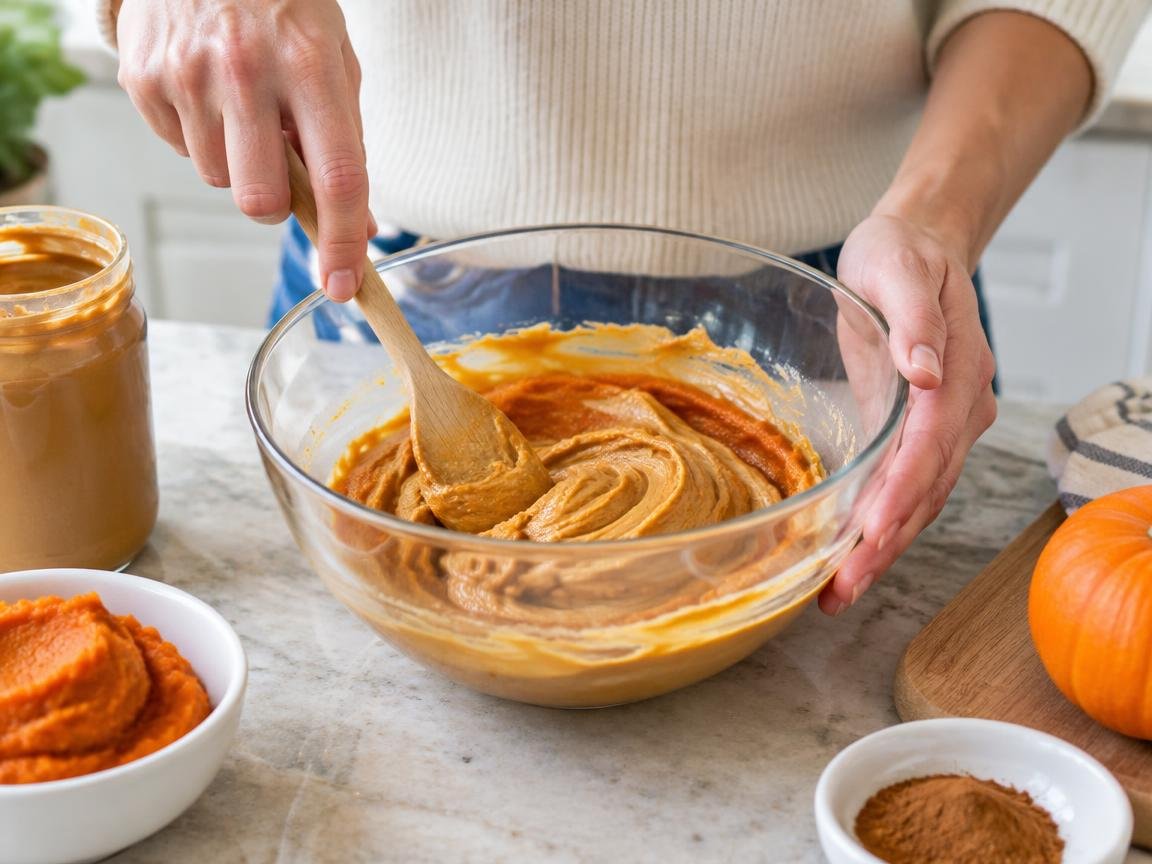
The foundation of any great 2-ingredient no-bake dog treat lies in selecting the right base and binder. These two components work together to create the desired texture and flavor profile.
For creamy bases, popular choices include:
- Pure Pumpkin Puree: An excellent source of fiber and vitamins, pumpkin is gentle on digestion and offers a subtly sweet, earthy flavor. Always ensure you’re using 100% pure pumpkin puree, not pumpkin pie filling, which contains harmful spices and sugars.
- Ripe Bananas: Overripe bananas are ideal as they are sweeter and easier to mash into a smooth consistency. They provide potassium and vitamins, and their natural stickiness acts as a great binder.
- Plain Greek Yogurt: Rich in probiotics and protein, Greek yogurt (ensure it’s plain and unsweetened) adds a tangy creaminess. Its thicker consistency helps bind ingredients effectively.
Once you have your base, you’ll need a binder to give the treats structure. Common binders include:
- Rolled Oats: When mixed with a wet ingredient, rolled oats absorb moisture and create a firm, chewy texture. They are a good source of fiber. For a smoother consistency, you can blend them into oat flour first.
- Unsweetened Shredded Coconut: This adds a unique texture and healthy fats. It’s particularly good for dogs who enjoy a slightly more crumbly treat.
The magic happens when these two elements combine, forming a pliable mixture ready for shaping.
Step 2: Mix and Shape the Dough or Batter
Once you’ve chosen your base and binder, the next step is to combine them into a cohesive mixture. Depending on your chosen ingredients, you might use blending techniques for smoother results or simply mix by hand. For instance, a ripe banana can be mashed with a fork and then combined with rolled oats. If using peanut butter as a base (more on safe peanut butter below), it can be easily stirred into a puree or flour.
The goal is to achieve a consistent, workable dough or batter. If the mixture is too sticky, gradually add a little more of your dry binder (like oat flour). If it’s too dry, a tiny bit more of your wet base can help. You can then shape the treats in various ways:
- Rolling Bite-Sized Balls: This is a quick and easy method, perfect for daily rewards.
- Silicone Mold Filling: Using fun-shaped silicone molds (like paw prints or bones) makes treats visually appealing and ensures uniform size. Simply press the mixture firmly into the molds.
- Pea-Sized Training Bites: For training sessions, smaller portions are ideal to avoid overfeeding. Roll tiny pieces or cut small squares from a flattened sheet of dough.
These simple techniques allow for quick creation of 2 ingredient dog treats no bake that are ready for the final setting stage.
Step 3: Chill or Freeze to Set
The final step in making no-bake dog treats is allowing them to set and firm up. This is typically achieved through refrigeration or freezing, depending on the desired texture and storage duration.
- Refrigeration Setting: For softer, chewier treats, simply place your shaped treats in an airtight container in the refrigerator for at least 30 minutes to an hour. This allows the ingredients to meld and firm up, making them easier to handle and serve.
- Freezer Firming: If you prefer a firmer, longer-lasting treat, or if you’re making frozen pops, the freezer is your best friend. A rapid 15-minute chill window can often be enough for smaller treats to firm up, but for full solidification, especially in silicone molds, allow at least 2-4 hours, or even overnight.
- Silicone Mold Release: Once frozen solid, treats made in silicone molds are usually very easy to release. A gentle push from the bottom will pop them out, ready for storage or immediate enjoyment.
- Single-Serving Prep: Freezing treats individually on a parchment-lined tray before transferring them to a larger container prevents them from sticking together, making single-serving retrieval effortless.
This chilling or freezing stage is crucial for both texture and preservation, ensuring your homemade treats are ready for your dog’s enjoyment.
Top Flavor Combinations and Dietary Substitutions
The beauty of 2-ingredient no-bake dog treats lies in the endless possibilities for flavor combinations, catering to almost any canine preference. Some of the most beloved pairings include:
- Peanut Butter Banana: A classic for a reason! The natural sweetness of ripe bananas perfectly complements the rich flavor of dog-safe peanut butter. This combination can be mashed and rolled into balls or blended and frozen into molds.
- Pumpkin Oat Balls: Pure pumpkin puree mixed with rolled oats creates a fiber-rich, digestive-friendly treat. These are often rolled into small balls and chilled.
- Coconut Peanut Butter Drops: For a richer, more decadent treat, unsweetened shredded coconut combined with peanut butter forms a delicious, energy-boosting bite.
- Sweet Potato Puree with Oat Flour: Cooked and mashed sweet potato offers a vibrant, vitamin-packed base that pairs wonderfully with the binding power of oat flour.
These combinations are not only tasty but also provide essential nutrients. We can easily create a variety of treats that cater to different palates and dietary needs.

How to Choose Safe Peanut Butter for 2 Ingredient Dog Treats No Bake
Peanut butter is a staple in many dog treat recipes, but not all peanut butter is created equal when it comes to canine safety. The most critical concern is the presence of xylitol, an artificial sweetener that is highly toxic to dogs. Even small amounts of xylitol can cause a rapid and severe drop in blood sugar (acute hypoglycemia), leading to seizures, liver failure, and even death. Other names for xylitol to watch out for include “birch sugar” or other “sugar alcohols.”
When selecting peanut butter for your dog, always adhere to these guidelines:
- Read the Label Meticulously: This is non-negotiable. Scan the ingredient list for xylitol, birch sugar, or any ingredient ending in “-itol” (e.g., sorbitol, erythritol, mannitol – while not as toxic as xylitol, it’s best to avoid unnecessary sugar alcohols).
- Opt for Single-Ingredient Peanut Butter: The safest choice is peanut butter made solely from peanuts. If salt is listed, ensure it’s a very minimal amount, as excessive sodium is also unhealthy for dogs.
- Avoid Added Sugars and Oils: Many commercial peanut butters contain added sugars, corn syrup, and hydrogenated oils, which offer no nutritional benefit to dogs and can contribute to weight gain and other health issues.
- Natural is Best: Look for natural, unsweetened, and unsalted varieties. These are typically found in health food aisles or where nut butters are freshly ground.
By taking these precautions, we can ensure that the peanut butter we use in our 2-ingredient no-bake dog treats is a safe and enjoyable component of their diet.
Allergy Swaps and Safe Variations for 2 Ingredient Dog Treats No Bake
Just like humans, dogs can have allergies or sensitivities to certain ingredients. The beauty of homemade no-bake treats is the flexibility to customize them for your dog’s specific needs.
- Grain Sensitivities: If your dog has issues with grains, simply swap out rolled oats for a grain-free alternative. Gluten-free oat flour (ensure it’s certified gluten-free if your dog has celiac-like symptoms) is a great option, or you can use finely ground unsweetened shredded coconut as a binder.
- Peanut Butter Alternatives: For dogs allergic to peanuts or those on a low-fat diet, unsweetened applesauce can replace peanut butter as a creamy base. You can also use cooked and pureed single-source proteins like chicken or turkey (ensure no seasonings are added) mixed with a binder for a savory treat. Sunflower seed butter, free of xylitol, is another potential alternative, but always introduce new ingredients slowly and in small amounts.
- Pancreatitis-Safe Purees: Dogs with pancreatitis require very low-fat diets. In such cases, pureed sweet potato or pumpkin mixed with a small amount of oat flour can create a delicious and safe treat. Always consult with your veterinarian before introducing new foods to a dog with a medical condition.
- Toxic Ingredient Avoidance: Beyond xylitol, remember to avoid other ingredients harmful to dogs, including chocolate, grapes, raisins, onions, garlic, and macadamia nuts. When making your own purees, ensure no these ingredients are present.
By being mindful of these allergy swaps and safe variations, we can ensure that our 2-ingredient no-bake dog treats are not only delicious but also perfectly suited to our individual dog’s health requirements.
Canine Nutritional Rules and Safe Storage Guidelines
Understanding the basic nutritional rules for dogs is paramount to ensuring our homemade treats contribute positively to their health. The golden rule for treats is the “10% treat rule”: treats should make up no more than 10% of a dog’s total daily caloric intake. This guideline helps prevent overfeeding and ensures that treats don’t displace the balanced nutrition provided by their regular meals.
For example, a 20-pound dog typically needs around 350-500 calories per day. This means their treats should total no more than 35-50 calories. For a larger 50-pound dog consuming about 1,000 calories daily, the treat allowance would be approximately 100 calories, which might equate to four to six tablespoon-sized bites, depending on the ingredients. Since a tablespoon of peanut butter alone can be around 100 calories, portion management is crucial. We must always be mindful of the caloric density of our chosen ingredients.
Proper storage is equally important for maintaining freshness and preventing spoilage. Because no-bake treats often contain fresh, moist ingredients, they have a shorter shelf life than highly processed commercial options.
- Refrigeration: Most soft, fresh no-bake treats can be stored in an airtight container in the refrigerator for up to 5 days. This prevents bacterial growth and keeps them fresh.
- Freezing: For longer storage, freezing is an excellent option. No-bake treats can be frozen in airtight containers or single-serve bags for up to 2 months. Freezing not only extends shelf life but also provides a cooling treat, especially welcome during warmer months. When freezing, it’s a good practice to freeze treats individually on a parchment-lined tray first, then transfer them to a freezer-safe bag or container once solid. This prevents them from clumping together. Labeling the bags with the date of preparation is a simple yet effective way to track freshness.
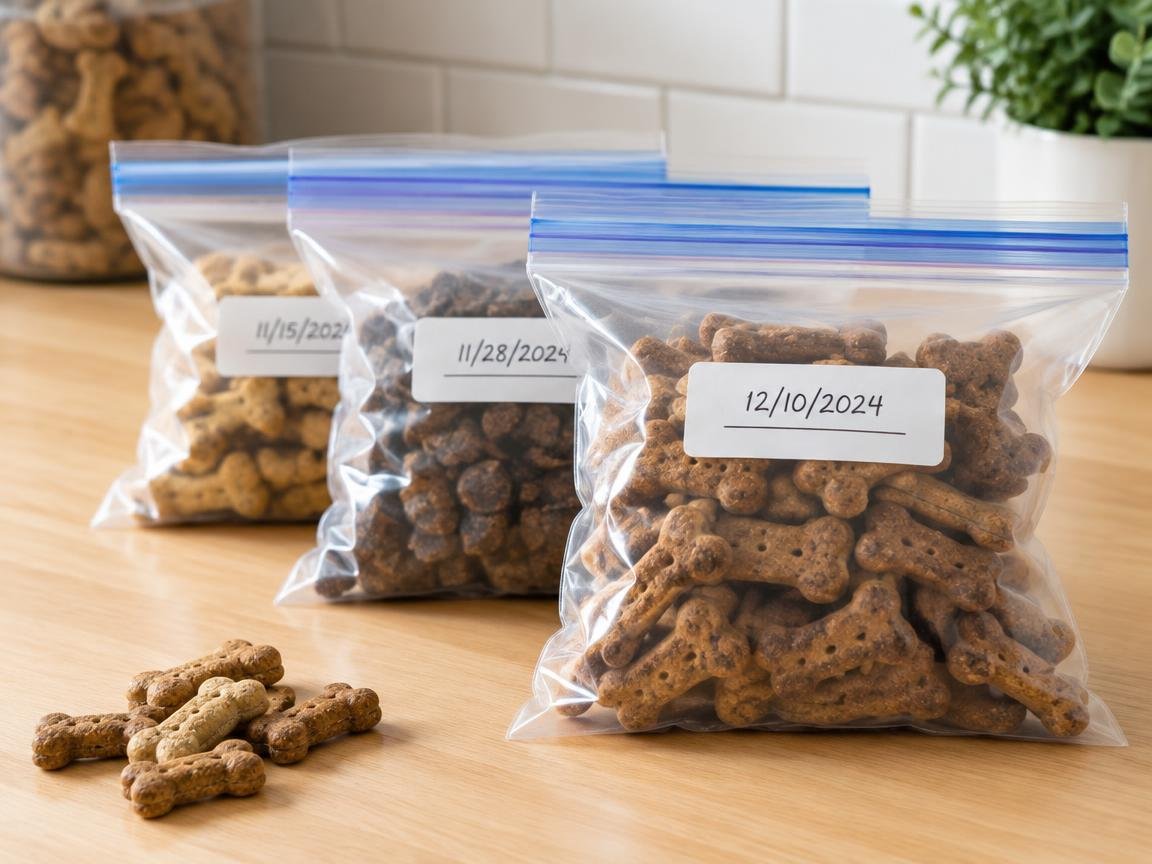
By adhering to these nutritional guidelines and storage best practices, we can confidently offer our dogs delicious, safe, and wholesome homemade treats.
Frequently Asked Questions About No-Bake Dog Treats
We often encounter common questions from pet parents eager to make the switch to homemade treats. Here, we address some of the most frequent inquiries to help you confidently create and share these simple snacks.
How many no-bake treats can my dog eat each day?
The number of treats your dog can safely consume daily depends largely on their size, activity level, and overall caloric needs. As a general rule, treats should constitute no more than 10% of your dog’s total daily caloric intake. For instance, a 20-pound dog, needing approximately 350-500 calories per day, should have treats that contribute a maximum of 35-50 calories. Given that a single tablespoon of peanut butter can contain around 100 calories, careful portion management is essential. We recommend making treats small, especially for training, to avoid exceeding this 10% caloric allowance and preventing canine obesity. Always factor in the calories from treats when planning your dog’s daily meals.
How long do homemade no-bake dog treats stay fresh?
The freshness duration of homemade no-bake treats largely depends on their ingredients and how they are stored. Because these treats are made with fresh ingredients and contain no artificial preservatives, their shelf life is naturally shorter than commercial options. When stored in an airtight container in the refrigerator, most soft no-bake treats will stay fresh for up to 5 days. For longer preservation, freezing is the best method. Frozen no-bake treats can typically last for up to 2 months in an airtight, freezer-safe container or bag. Moisture control is key to preventing mold, so ensure treats are completely set and dry on the surface before storing, especially if refrigerating.
Can puppies safely eat these 2-ingredient treats?
Yes, many 2-ingredient no-bake treats can be safe and beneficial for puppies, but with a few considerations. Puppies have more sensitive digestive systems than adult dogs, so it’s best to introduce new ingredients slowly and in very small quantities. Opt for easily digestible ingredients like pure pumpkin puree, ripe bananas, or plain Greek yogurt paired with finely ground oats. These treats can be excellent for gentle digestion and can even provide relief for teething gums if served slightly chilled or frozen. Always ensure that the ingredients are appropriate for a puppy’s age and health, and consult your veterinarian if you have any concerns about introducing new foods to your young dog.
Conclusion
Embracing the simple 3-step routine for 2-ingredient no-bake dog treats offers a world of benefits for both you and your canine companion. From the transparency of whole-food ingredients to the undeniable health advantages over processed snacks, these homemade rewards are a testament to how easy and impactful thoughtful pet care can be. With just 5 minutes of prep time and no oven required, you can consistently provide a healthy reward routine that supports your dog’s well-being. So, gather your two chosen ingredients, follow our easy steps, and get ready for the enthusiastic tail-wagging results that only a truly wholesome, homemade treat can inspire.
Discover more from
Subscribe to get the latest posts sent to your email.

Leave a Reply